It is also helpful to consider family dynamics when deciding which cherished kitchen heirlooms to keep or pass on to children.
Dorothy always said our kitchen on Elmwood Drive was the “heart of our home.” For 44 years, it certainly was. We raised three children there, hosted 30 Thanksgivings, and accumulated what I once estimated to be “approximately one metric ton of stuff we don’t need.”
When we started thinking about downsizing, the idea of redesigning that central space felt daunting, even for me. I know a lot of folks worry about losing functionality or having to let go of cherished items.
But let me tell you, downsizing our kitchen isn’t about giving things up. It’s about creating a highly efficient, accessible, and genuinely enjoyable space that fits your current lifestyle perfectly.
You end up with a kitchen that simplifies daily tasks, cuts down on clutter, and still looks and feels like yours. I’ll walk you through how Dorothy and I tackled decluttering, designing, and optimizing our new kitchen in Florida.

Understanding Your Vision for a Downsized Kitchen
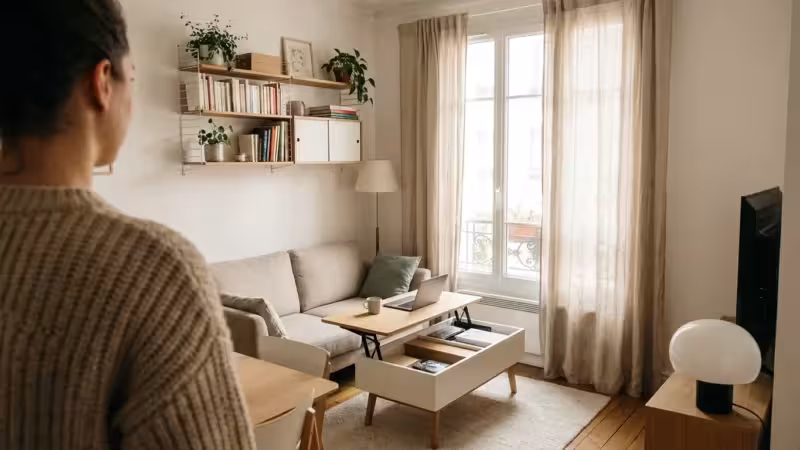
Before Dorothy and I touched a single pot or pan, I insisted we take some time to visualize our ideal kitchen here in Hawthorn Ridge. I mean, we’d spent 44 years in that 2,400 sq ft colonial on Elmwood Drive; our new place was going to be a different animal entirely.
I needed to know how we’d actually use the space now. Would we still host huge family dinners like Thanksgiving, or would it mostly be for Dorothy and me, maybe the grandkids when they visited?
I focused on the activities we really enjoy. Dorothy still loves to bake on Sunday mornings, and I’ve actually become quite a decent cook since I retired – something that still surprises both of us.
Understanding those core activities helped us prioritize what we truly needed and what we could happily let go of. It was about defining the parameters, just like I would for any engineering project.
The Emotional Journey of Kitchen Downsizing
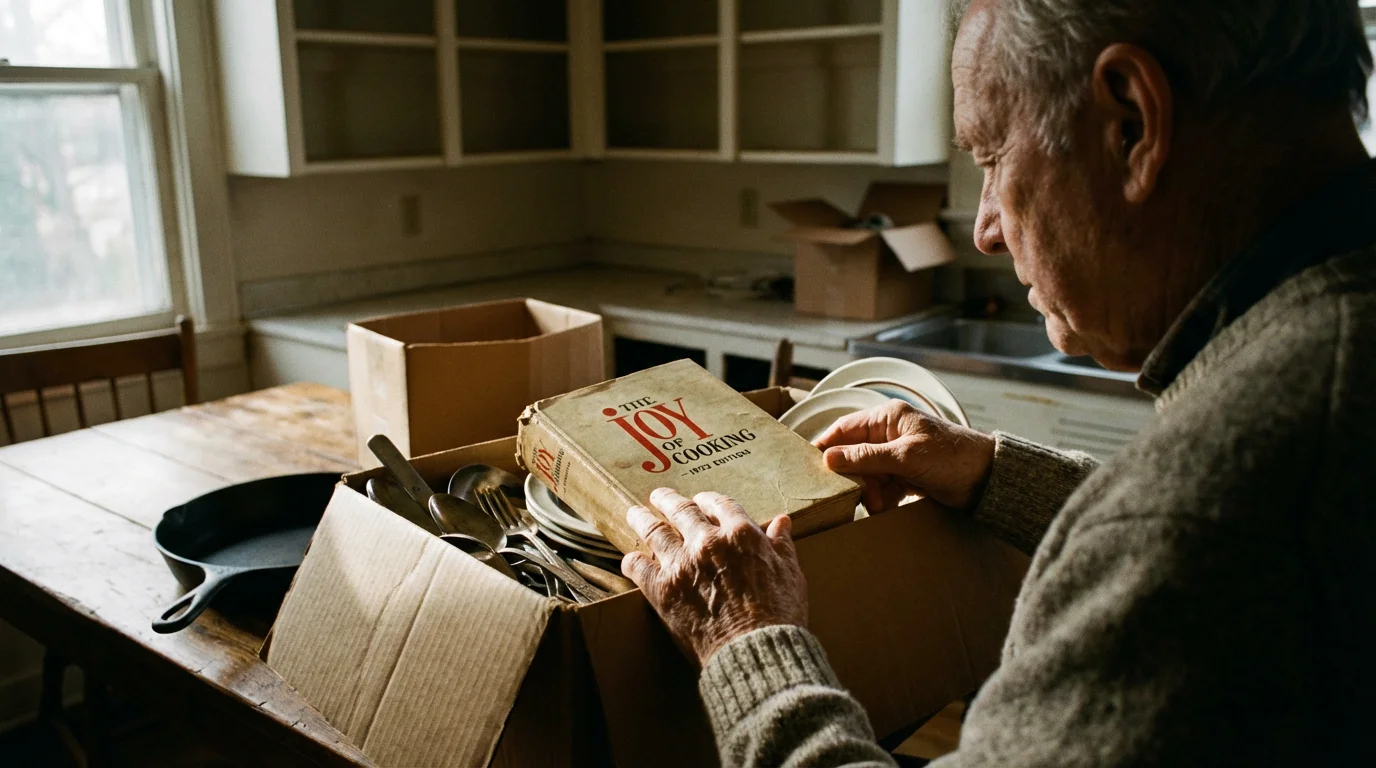
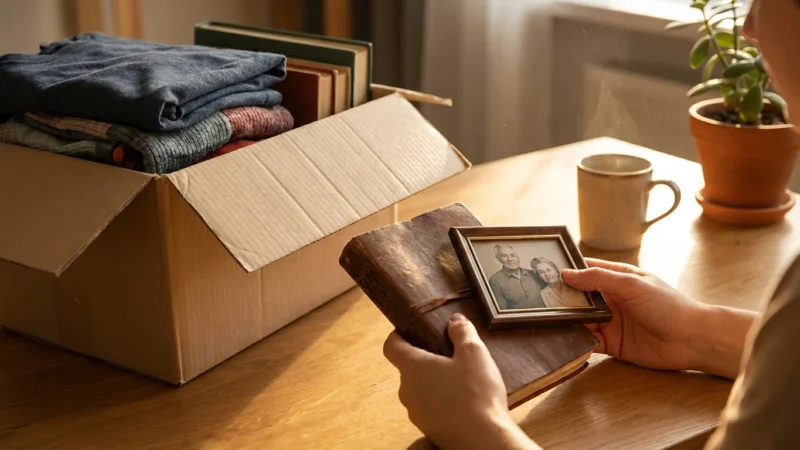
Look, I’m a civil engineer, so my first instinct is always logic and efficiency. But even I couldn’t ignore the emotional side of downsizing our kitchen. Dorothy definitely couldn’t. She had feelings about every casserole dish and coffee mug, recalling family gatherings, holiday meals, and all those everyday moments.
It was a journey through memories, and it’s completely normal to feel everything from nostalgia to relief. Dorothy cried when we sold the house, and I understood why; it wasn’t just a house, it was a repository of our lives.
Making these downsizing decisions is often the hardest part of right-sizing your home for a new chapter.
I learned quickly that you have to approach this stage with kindness and patience. For myself, I tried to focus on the freedom and simplicity that a lighter kitchen brings. Dorothy, on the other hand, needed to acknowledge the sentimental value of items without letting it paralyze her decisions.
As Barbara Hemphill says, “Clutter is postponed decisions.” I found that quote particularly helpful. It reminded us that every item we kept required a conscious choice. We weren’t discarding memories, we were making space for new ones, and that was a practical way to look at it.
Strategizing Your Kitchen Decluttering Process
This is where my methodical side truly took over. Effective decluttering, for me, required a systematic approach. I suggested we start with one category at a time – say, baking pans or everyday dishes – rather than trying to tackle the entire kitchen at once.
That’s how I approach any large project, breaking it down into manageable components. It prevented us from getting overwhelmed and allowed us to see real progress, which was important for Dorothy.
By staying organized, you can easily avoid common downsizing mistakes that often lead to unnecessary stress or regret.
This organized approach was especially beneficial as we were preparing for our transition to community living in Hawthorn Ridge, where storage space is certainly more carefully allocated than in our old colonial. I had spent two years researching 55+ communities, and I knew every square foot counted.
Remember that downsizing in stages is often more manageable than trying to tackle every room in your house at once. I established clear decision criteria for each item, asking practical questions to guide our choices.
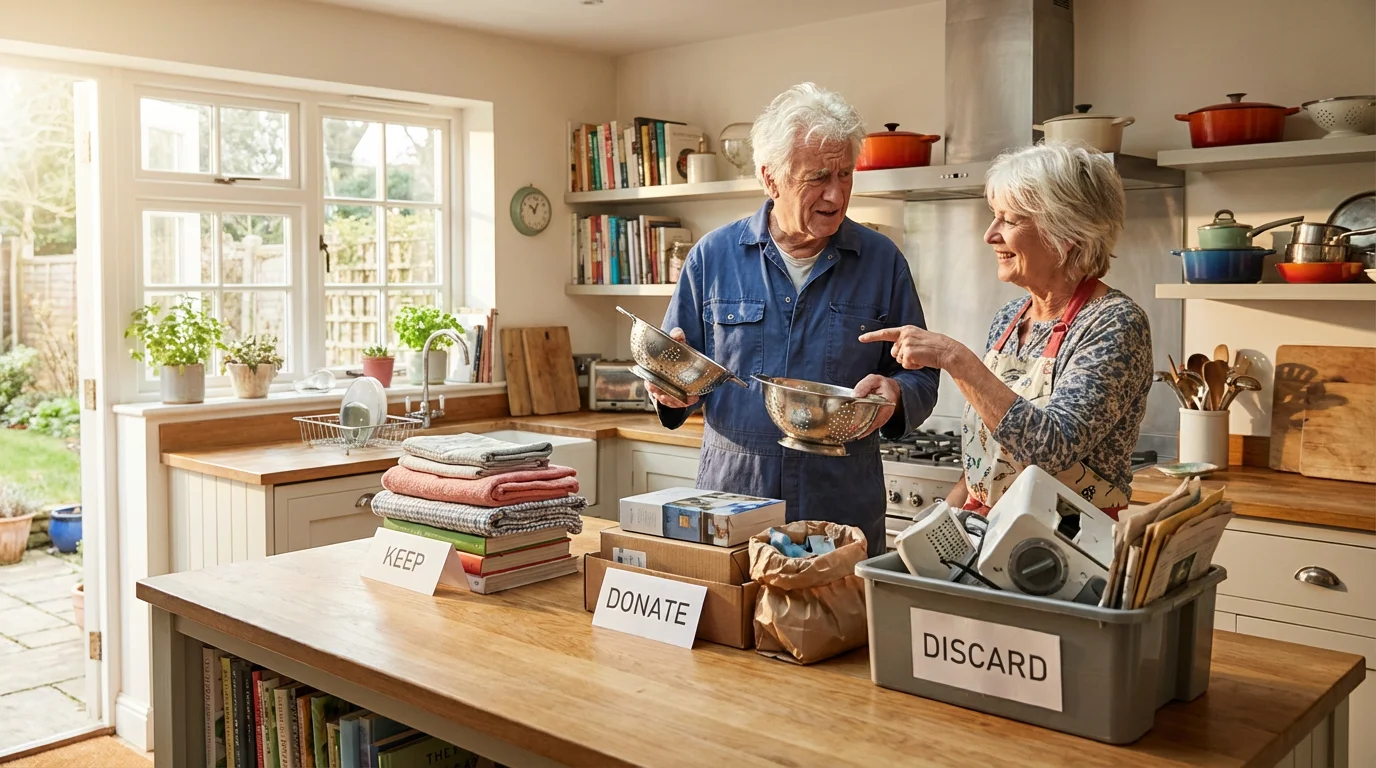
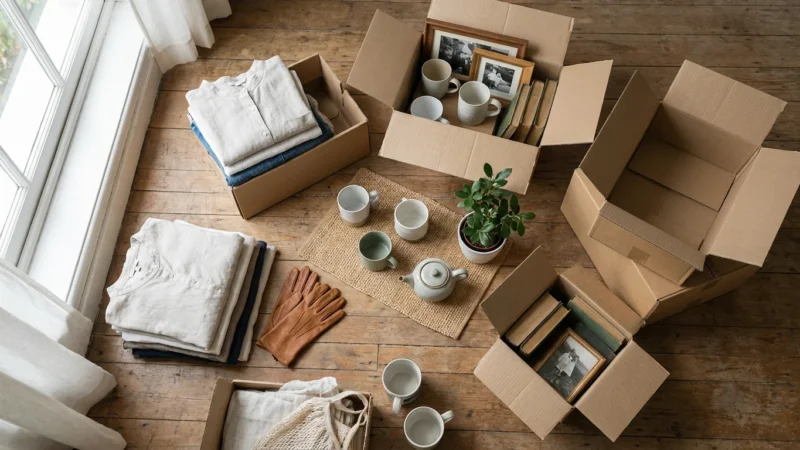
This helped separate emotional attachment from genuine utility – a critical distinction when you’re facing a kitchen full of 44 years of stuff. We created designated piles for items that fell into distinct categories:
- Keep: Items we use regularly, love dearly, or absolutely need for our desired kitchen activities.
- Donate: Items in good condition that someone else can use. We looked at local charities or community centers. Organizations like Goodwill accept a wide range of kitchenware.
- Sell: Valuable items or sets that could fetch a fair price. We considered online marketplaces and an estate sale for some of the higher-end pieces.
- Discard: Broken, chipped, or unusable items that couldn’t be repaired or repurposed.
Decluttering Specific Kitchen Zones
I applied these decision frameworks to specific areas of our kitchen. This structured approach helped ensure we addressed everything without missing vital spots. Believe me, with the amount of stuff we had, it was easy to miss things.
Pantry and Food Items:
- I checked expiration dates on all packaged goods, spices, and condiments. Anything expired was discarded. No exceptions.
- We consolidated duplicate items. If we had two half-empty bags of rice, they went into one container.
- We only kept foods we regularly consumed. I started buying smaller quantities to fit our new space.
Cookware and Bakeware:
- “How often do we really use this pan?” I’d ask Dorothy. If it was yearly for a specific holiday, I made her consider if we could borrow one or use a multi-purpose alternative.
- We checked if it was compatible with our new stove type.
- If we had duplicates that served the same purpose, we kept the best condition item.
Dishes, Glasses, and Cutlery:
- I determined how many place settings we truly needed. We decided on enough for our household, plus a few extra for guests – six to eight settings seemed a good compromise.
- We kept sets that mixed and matched, offering versatility.
- I identified serving platters and specialty items we used only once a year. We decided we could rent or borrow these for special occasions, saving valuable cabinet space.
Small Appliances:
Small appliances often consume significant counter space. I evaluated each one carefully.
- “When was the last time we used this?” If it had been over a year, I made a strong case for letting it go.
- Did it perform a unique function, or could a multi-purpose tool replace it? Our stand mixer, for example, replaced several hand tools.
- Did we have space for it on our counter or in accessible storage? If not, it was out.
Utensils and Gadgets:
Dorothy had accumulated an abundance of kitchen gadgets over the years. I had to be ruthless here.
- Broken or rusty utensils were immediately discarded.
- We kept one or two of each essential utensil: spatulas, ladles, whisks.
- Single-use gadgets were released unless we used them frequently and they saved significant time.
The goal wasn’t to eliminate everything, but to curate a collection that supported our daily life without burdening our new, smaller space. Every item we kept had to earn its place.
Designing for Ease and Accessibility in Your Senior Kitchen
As a civil engineer, I understand that good design prioritizes comfort, safety, and efficiency. Our new kitchen in Hawthorn Ridge needed an intuitive layout that minimized unnecessary movement and strain. I spent a good amount of time looking at these key elements when we were planning our space.
Optimizing Your Layout: The Work Triangle
Even in a downsized space, the classic kitchen work triangle (refrigerator, sink, stove) remains a fundamental principle. I made sure there were easy, unobstructed paths between these three main points. This minimizes steps and reduces the risk of accidents, which is crucial as we get older.
Counter Heights and Work Surfaces
Standard counter heights can be uncomfortable. I considered varying heights; a section that’s lower, perhaps table height, provides a comfortable spot for seated meal prep.
We also made sure there was ample, clear counter space for chopping, mixing, and plating food, which Dorothy appreciates for her baking and I appreciate for my newfound cooking hobby.
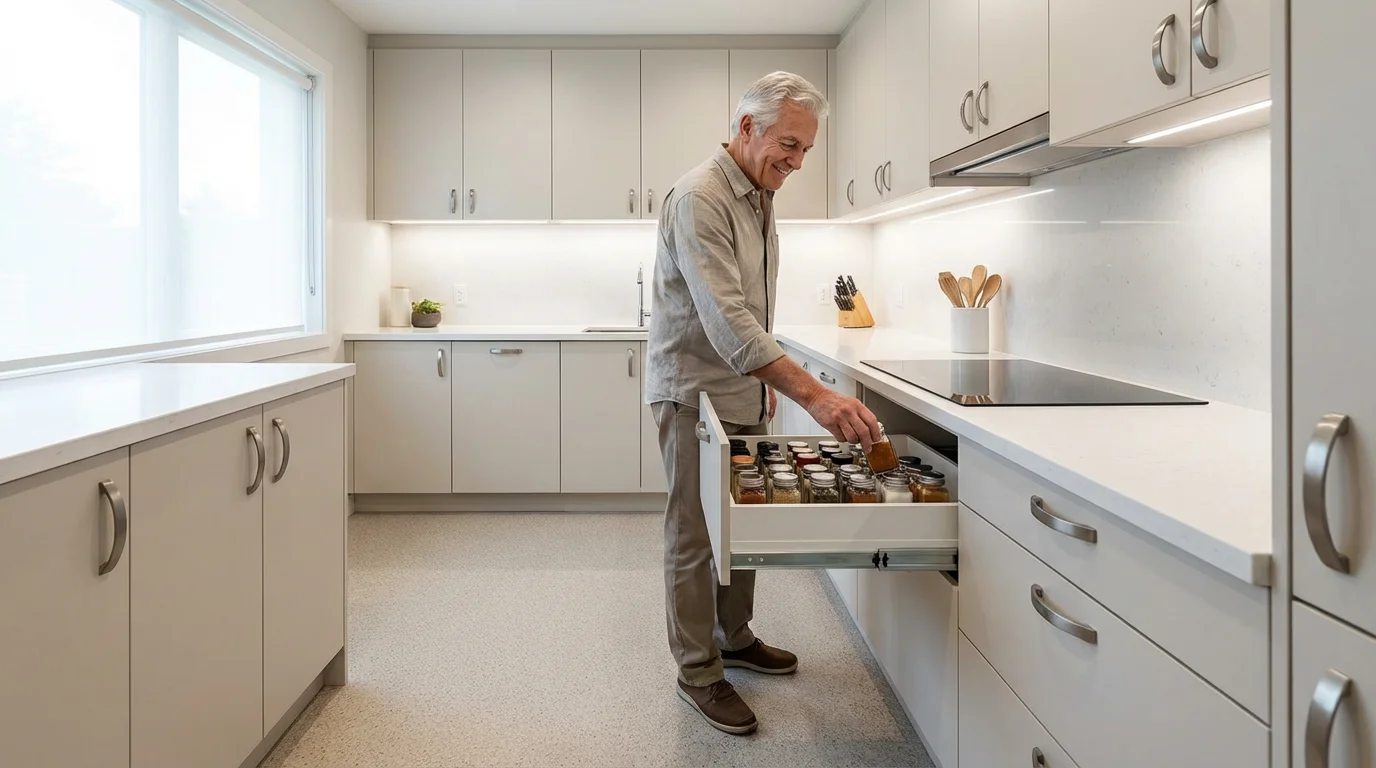
Accessible Storage
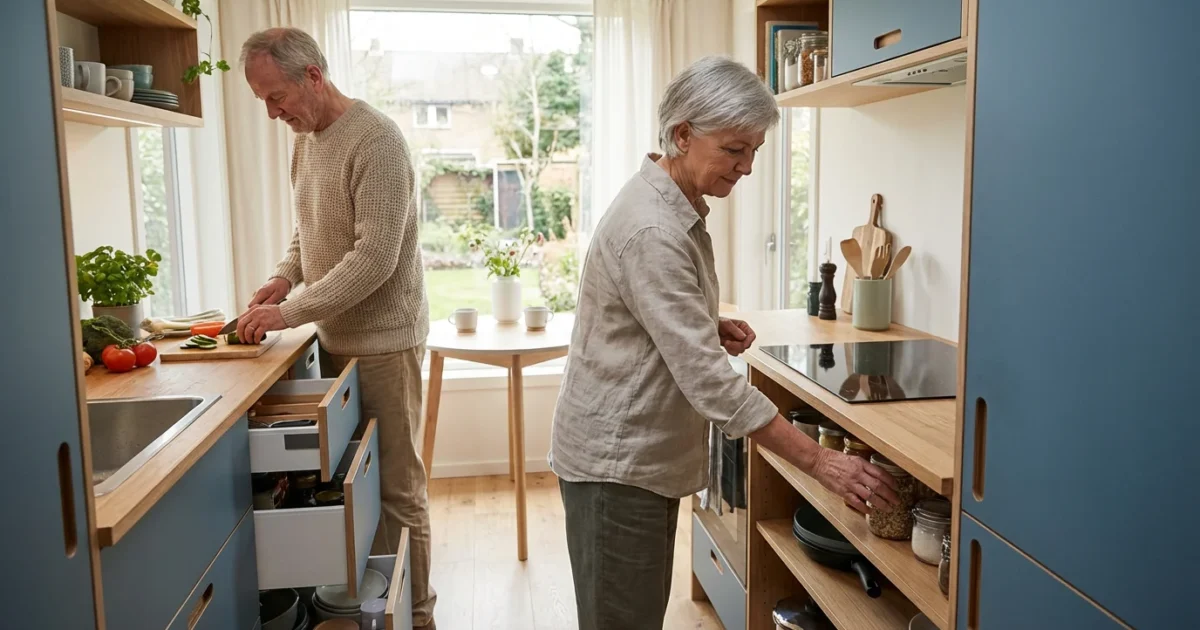
Accessibility was paramount. I wanted to avoid deep, dark cabinets that required bending or reaching. Instead, I prioritized storage solutions that brought items to us.
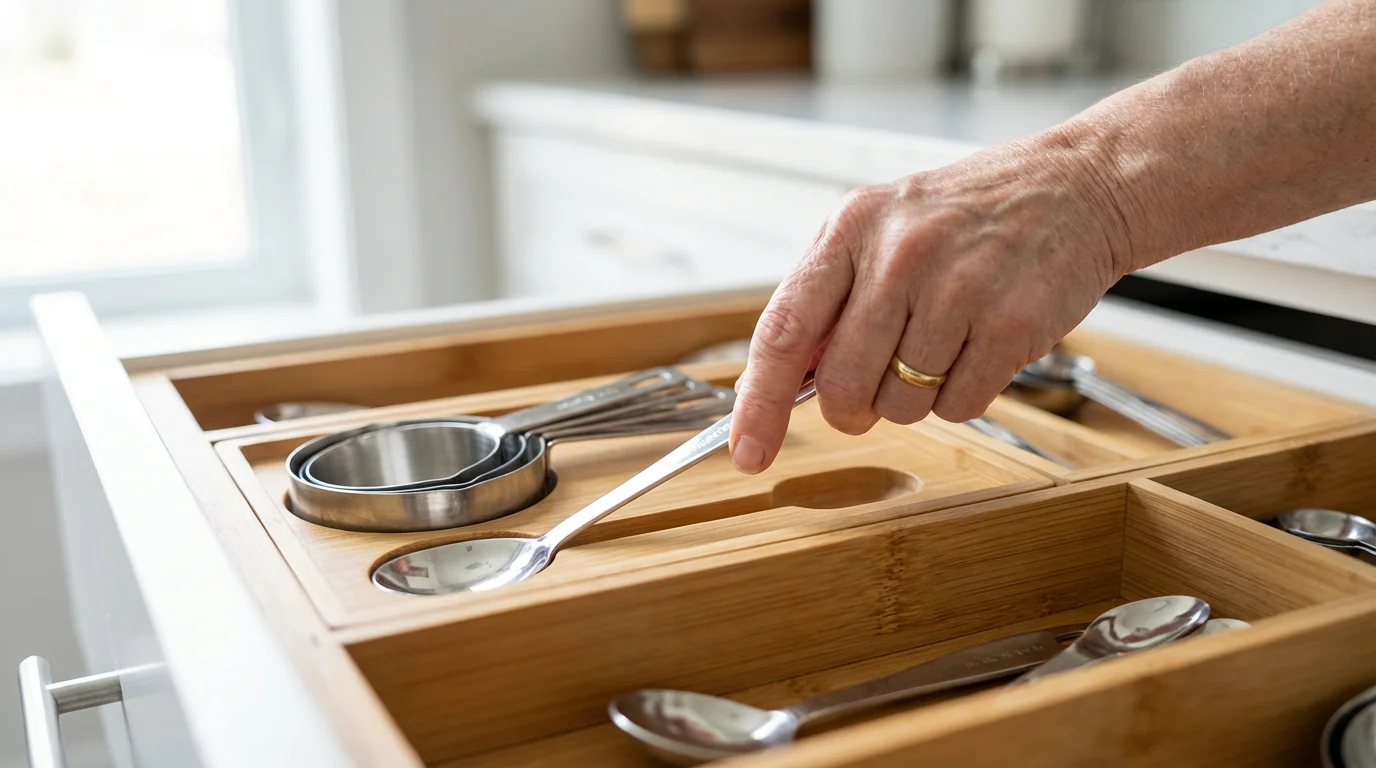
- Pull-Out Shelves and Drawers: These eliminate the need to rummage in the back of cabinets. We use them for pots, pans, and pantry items.
- Drawer Organizers: These keep utensils, spices, and small tools neatly arranged and easy to find.
- Lazy Susans: Ideal for corner cabinets or within pantries, making items in hard-to-reach areas accessible with a simple spin.
Lighting and Visibility
Good lighting prevents accidents and makes cooking more enjoyable. We combined ambient lighting for general illumination with task lighting directly over work surfaces. Under-cabinet lighting is particularly effective for illuminating countertops without glare, something I made sure to include in my research for our new place.
Flooring Choices
I insisted on flooring that was slip-resistant and comfortable underfoot. Materials like cork, linoleum, or certain types of engineered wood offer more cushion than hard tile, reducing fatigue and providing a safer surface. I made sure to avoid highly polished or uneven surfaces during our community tours.
Faucet and Handle Selection
We opted for lever-style faucets and cabinet pulls instead of knobs. Levers are easier to operate, especially for individuals with arthritis or limited dexterity. I also made sure to choose D-shaped pulls for cabinets as they provide a better grip than small knobs.
Smart Storage Solutions for Smaller Kitchens
Maximizing space in our downsized kitchen meant smart storage. Every inch counts, especially when you’re moving from a 2,400 sq ft colonial to a smaller home. I had to think vertically and creatively. Here are practical ways we optimized storage in our functional kitchen:
By implementing these organizational strategies, we ensured our kitchen remained a cornerstone of aging in place safely and independently.
- Utilize Vertical Space: We installed shelves above windows for infrequently used items. I even considered pegboards on walls for hanging pots, pans, and utensils, keeping them visible and within reach.
- Deep Drawer Dividers: We use adjustable dividers to keep plates, bowls, and serving dishes stacked neatly and securely. This prevents shifting and breakage, which is just good common sense.
- Pantry Organization Systems: I invested in clear containers for dry goods like pasta, flour, and cereals. I labeled everything clearly. Tiered shelves for spices ensure I can see all my options without having to rummage.
- Cabinet Organizers: We added pull-out waste bins, pot and pan organizers, and over-the-door spice racks. These additions transformed standard cabinets into highly efficient storage units, which was a big win for me.
- Rolling Carts: A compact rolling cart provides extra counter space or storage for frequently used items. You can move it out of the way when not needed, which is great for our smaller footprint.
- Multifunctional Furniture: We considered a kitchen island with built-in storage.
I made sure to store heavier items in lower cabinets and drawers to minimize lifting. Frequently used items are at eye level for easy access. This ensures our kitchen remains functional and safe, which were my top priorities.

Selecting Right-Sized and User-Friendly Appliances
The right appliances are critical for the functionality of a downsized kitchen. I focused on size, energy efficiency, and ease of use. This avoids a cluttered appearance and supports our daily cooking needs.
I manage our finances with what Dorothy calls “a level of detail that belongs in a NASA mission,” so choosing energy-efficient, right-sized models was also an excellent way to reduce our monthly expenses while living on a fixed income.
Refrigerators: We chose a counter-depth refrigerator. I looked for models with bottom freezers or French doors, which reduce bending and offer better organization. I also made sure the shelves were adjustable and easy to clean.
Stoves and Ovens: A standard 30-inch range still fit our needs, but I also considered 24-inch models. I looked for smooth cooktops for easy cleaning and clear, large control knobs or digital displays.
Dishwashers: We opted for a compact 18-inch model. It’s ideal for our smaller household, consuming less water and energy for smaller loads. I made sure the controls were clearly marked and easy to reach.
Microwaves: We went with a built-in microwave above the range, which came with built-in ventilation, saving valuable counter space. Easy-to-read controls were a must.
Smaller Appliances: I prioritized multi-functional items. A high-quality food processor replaced a blender and a mandoline. A compact coffee maker and an electric kettle were chosen to save valuable counter space. I focused on what we genuinely use daily, not what looked good in a brochure.
Infusing Style and Personality into Your Functional Kitchen
Even though I’m usually focused on the practical side, I understand that a downsized kitchen doesn’t mean compromising on aesthetics. Dorothy certainly wouldn’t have stood for that. Our kitchen needed to feel inviting and reflect our taste. I deferred to her on most of the “style” elements, while I focused on the “functional” ones.
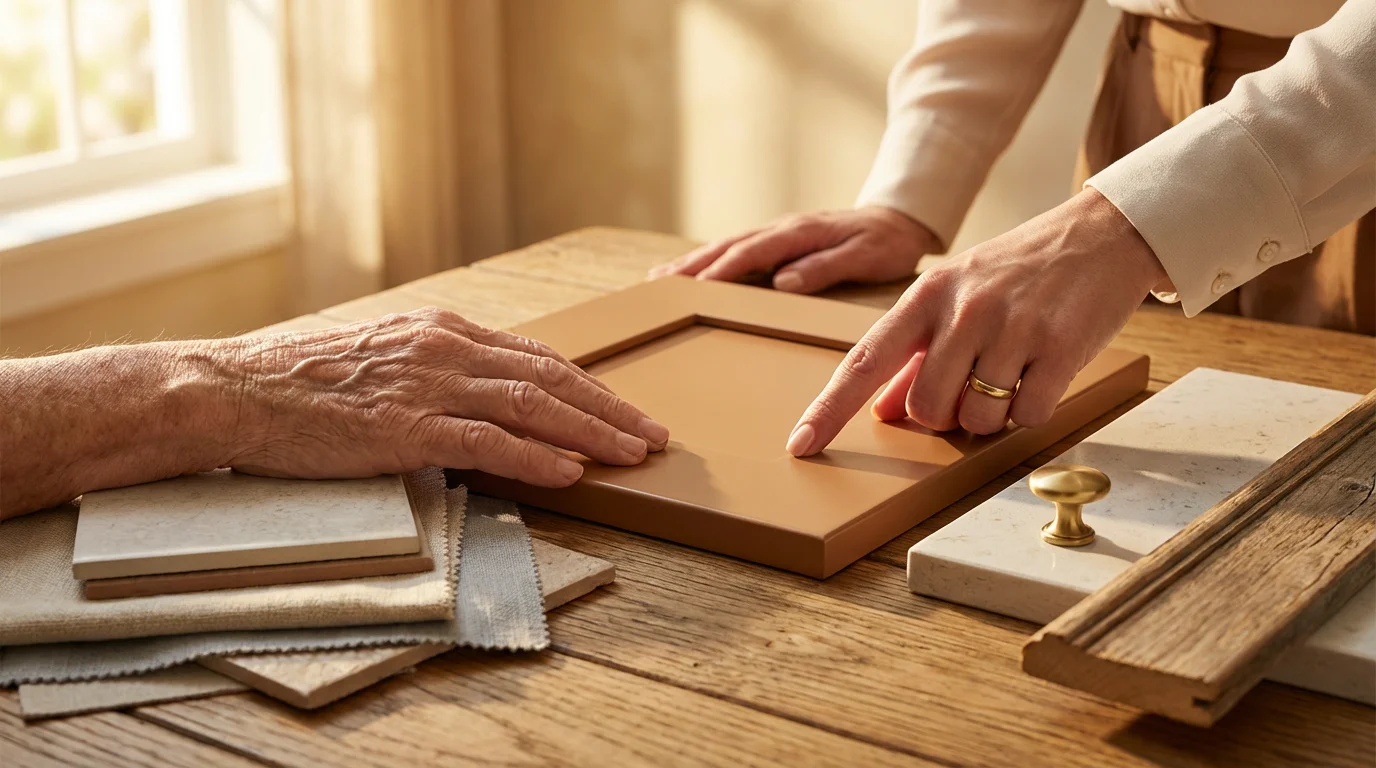
Color Palettes: Lighter colors on walls and cabinets make a smaller kitchen feel more spacious and brighter. Dorothy incorporated pops of color through accessories and dish towels. Warm neutrals, I agreed, create a calming and timeless look.
Materials and Finishes: I insisted on durable, easy-to-clean materials for countertops, like quartz. They resist stains and require minimal maintenance, which is a big plus. We selected cabinet finishes that complemented our overall design preferences.
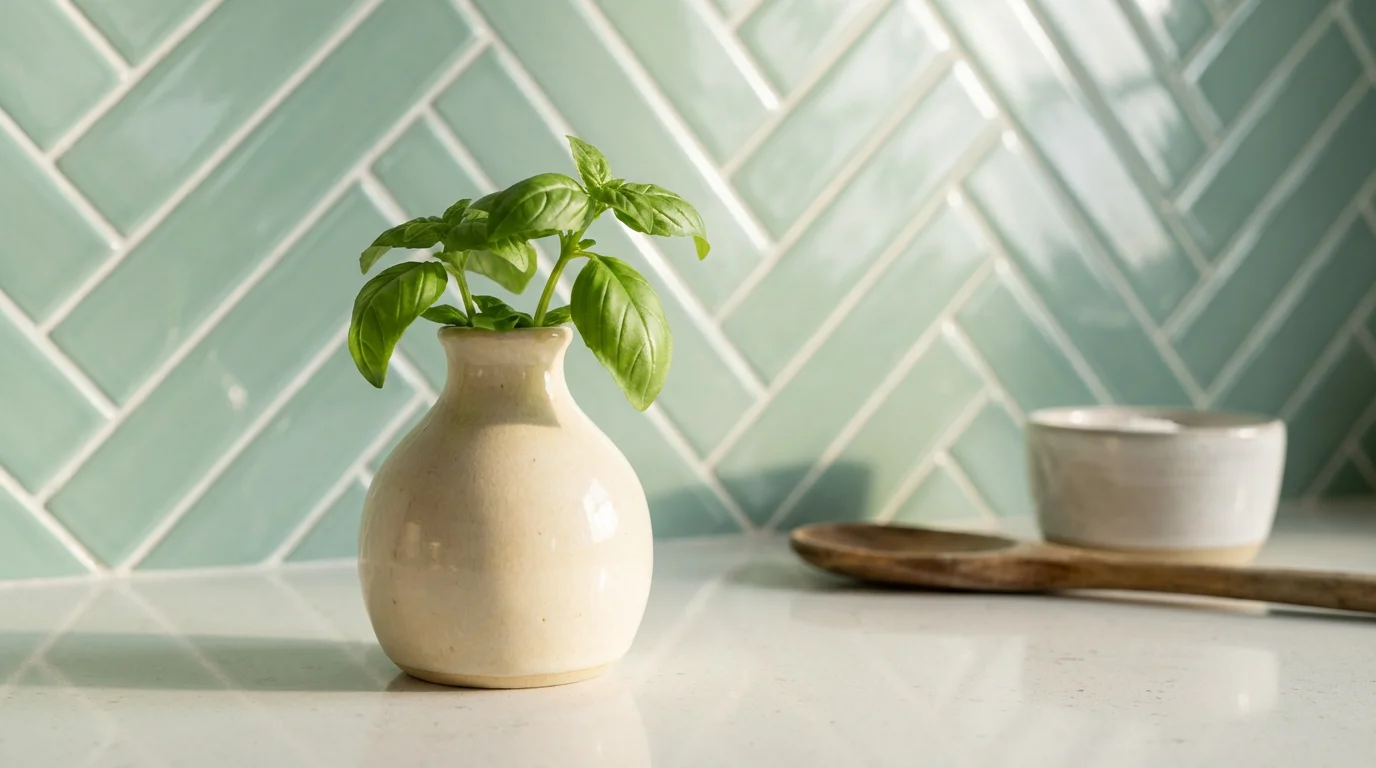
Personal Touches: Dorothy displayed a few cherished items that genuinely bring her happiness – a favorite piece of pottery, a small plant. I made sure we avoided cluttering surfaces; instead, we curated our decor thoughtfully. A beautiful fruit bowl or a stylish set of containers for pantry staples also adds character, and I can appreciate that.
A functional kitchen can still be a beautiful one. Thoughtful design choices combine practicality with personal style, creating a space you love to use every day, whether you’re baking like Dorothy or trying out a new recipe like me.
Seeking Professional Guidance for Your Kitchen Transition
Navigating a kitchen downsizing project can feel extensive. I can tell you from experience, you don’t have to undertake it alone. I spent two full years researching 55+ communities before we moved, and I’m a big believer in getting expert advice when you need it. Several professionals specialize in assisting seniors through these transitions, offering expertise and support.
As you navigate this change, being aware of common downsizing mistakes can help you maintain focus and reach your goals more efficiently.
Professional Organizers: A professional organizer helps you make decisions about what to keep, donate, or sell. They offer structured processes and objective perspectives, which can be invaluable when dealing with sentimental items that might otherwise bog you down. Look for organizers specializing in senior transitions for the most empathetic approach.
Senior Move Managers: These professionals provide comprehensive support for the entire downsizing and moving process. A NASMM-certified senior move manager can coordinate movers, arrange for donations, oversee the packing and unpacking, and even help set up your new kitchen. They understand the unique needs of older adults and alleviate much of the stress, which I can tell you, was significant for Dorothy.
Kitchen Designers: If you’re planning a significant renovation or building a new home, a kitchen designer ensures your new space meets all your accessibility and aesthetic requirements. They translate your vision for a functional kitchen into a practical, beautiful design, selecting appropriate materials and layouts.
Utilizing professional help streamlines the process and ensures your downsized kitchen truly serves your needs, both practically and emotionally. Their experience provides peace of mind and efficient results, which is something I can always get behind.
Frequently Asked Questions
How do I start decluttering my kitchen if I feel overwhelmed?
Start small, systematically. Pick one drawer or one shelf, not the entire kitchen. Dedicate 15-30 minutes to that small area. Apply the “Keep, Donate, Sell, Discard” framework to each item. Celebrate that small victory before moving to the next section. Consistent, small efforts build momentum and prevent overwhelm, just like any good project plan.
What are the most important elements for a senior-friendly kitchen?
The key elements, from an engineering perspective, are an accessible layout with clear pathways, varied counter heights, easy-to-reach storage (like pull-out shelves), good task lighting, slip-resistant flooring, and easy-to-operate faucets and appliance controls. These features prioritize safety and comfort, enhancing the functionality of your kitchen for the long haul.
How many dishes and glasses should I keep when downsizing?
Aim for enough settings for your household plus a few for guests. For Dorothy and me, keeping 4-6 place settings is often sufficient. This includes dinner plates, salad plates, bowls, and mugs. You can always use disposable items or borrow for larger gatherings, which reduces the need for excessive dishware and saves space.
Is it okay to keep some sentimental items even if I do not use them?
Yes, it’s permissible to keep a few truly cherished sentimental items, as Dorothy reminded me often. Perhaps a favorite teacup or a small serving dish that brings you joy. Find a designated, visible spot for them. You don’t need to keep every sentimental item to preserve your memories; choose quality over quantity, and ensure it doesn’t contribute to unnecessary clutter.
Disclaimer: This article is for informational purposes only. Downsizing decisions are deeply personal and should be made at your own pace. If you’re struggling with the emotional aspects of letting go, consider speaking with a counselor or therapist who specializes in life transitions. For valuable items, consult with appraisers or estate professionals.
Applying a minimalist approach to your belongings helps ensure that every item in your home, from your closet to your cabinets, serves a purpose.


Leave a Reply